The App Away From the Desk
The front desk's workplace is the web portal. The phone is the companion: the things you do away from the desk -- check a car in at the bay, check one out on the forecourt, clear an approval, photograph a supplier invoice, count a shelf.
There are two ways to get MechIQ on a phone:
- The native MechIQ app (iPhone and Android) -- the full companion, with the camera flows and push notifications.
- The web app in the phone's browser -- the same login as your desktop, with a phone-sized home screen.
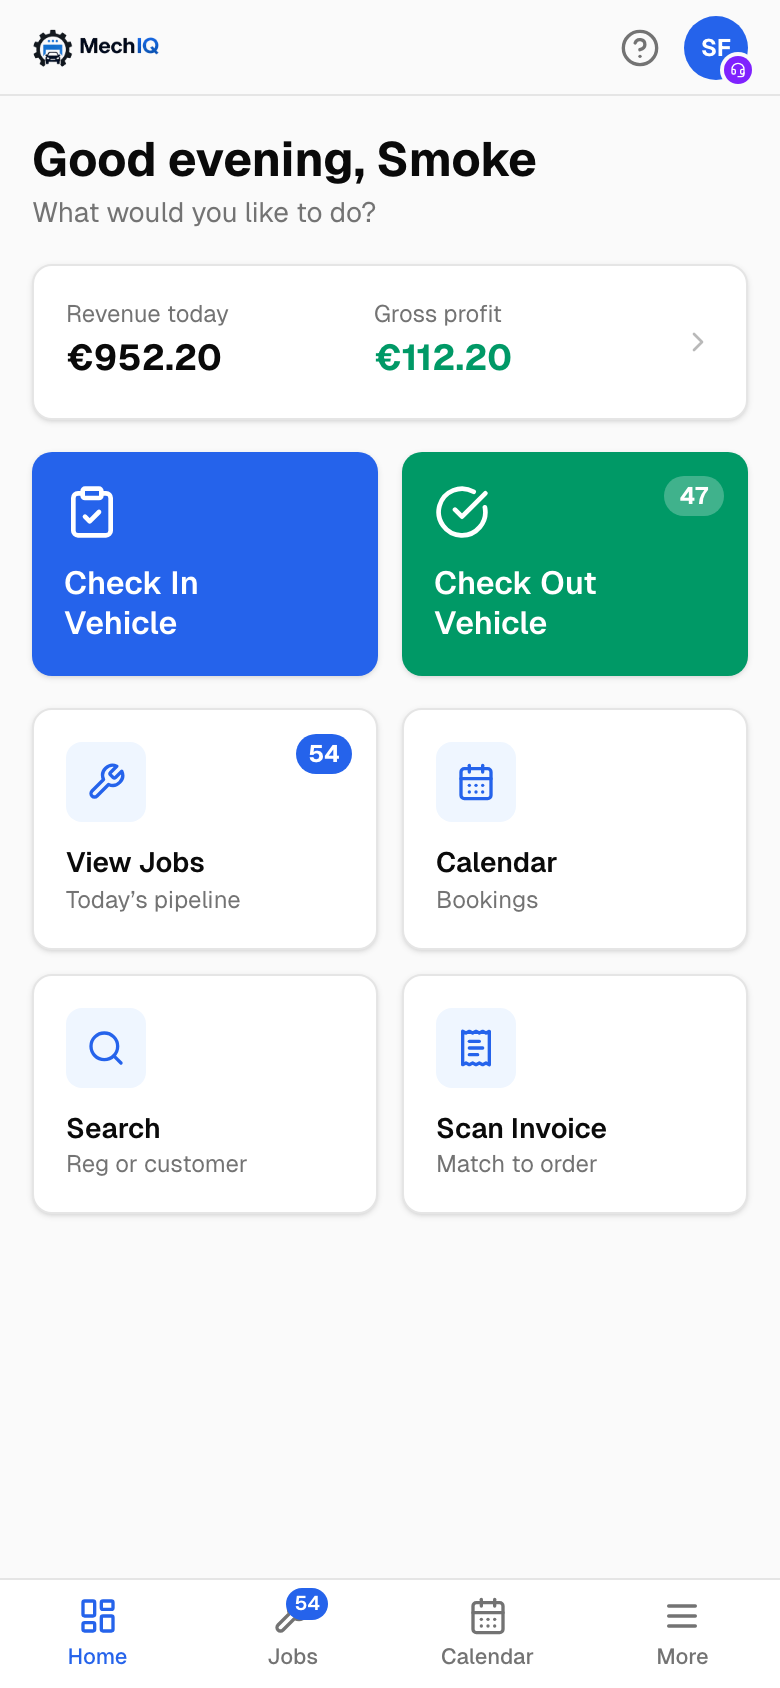 The web app's phone home screen: Check In and Check Out, then Jobs, Calendar, Search and Scan Invoice.
The native app
The bottom bar has Home, Actions (badged with the open count), Jobs, Inventory and More.
Home has two big buttons, Check In Vehicle and Check Out Vehicle (badged with the number of cars ready to go, and a note when any have been waiting past your stale threshold), then Quote a job, and tiles for Search and Scan Invoice. A glance row counts On site, Awaiting parts, Stuck and Techs on jobs; tap one to see those jobs. If the garage has switched financials on for the front desk you also see Sales today and Gross profit (the same figures as the web dashboard's Today's money). Owners get How's the garage doing this week?
More holds Calendar, Time Clock (where the garage uses it), Search, Calls, Scan Invoice, Notification preferences, Help, Switch to … for your other roles (also in the menu under your initials) and, when financials are on, Reports.
A screen that cannot load (no connection) says so with Try again -- the calendar no longer shows an empty day, and This week no longer spins.
Check a car in
Tap Check In Vehicle. The camera opens.
- Point at the number plate and hold steady -- it reads automatically. If it will not read, tap Enter reg manually, type the registration and tap Find booking.
- Plate scanned shows the registration and car. If the reg has more than one booking you are asked which one. If there is no booking, add a line under What's the work? (quick note) and tap Create job & continue to check it in as a walk-in. A car not on file has to be added at the desk first.
- Continue to walk-around: tap record, walk around the car narrating any damage. You can Skip it.
- Photograph the dash + mileage with the odometer clearly visible. MechIQ reads the mileage and warning lights. Skippable.
If camera access is off for MechIQ, check-in says Camera access is off with Open Settings, and you can still Enter reg manually (or, after the plate, Skip the photos). 5. Confirm check-in: check the Mileage (optional) (type it if the photo could not be read, or leave it blank for the technician to record at the car) and the Warning lights, then tap Confirm check-in. Start over throws the capture away.
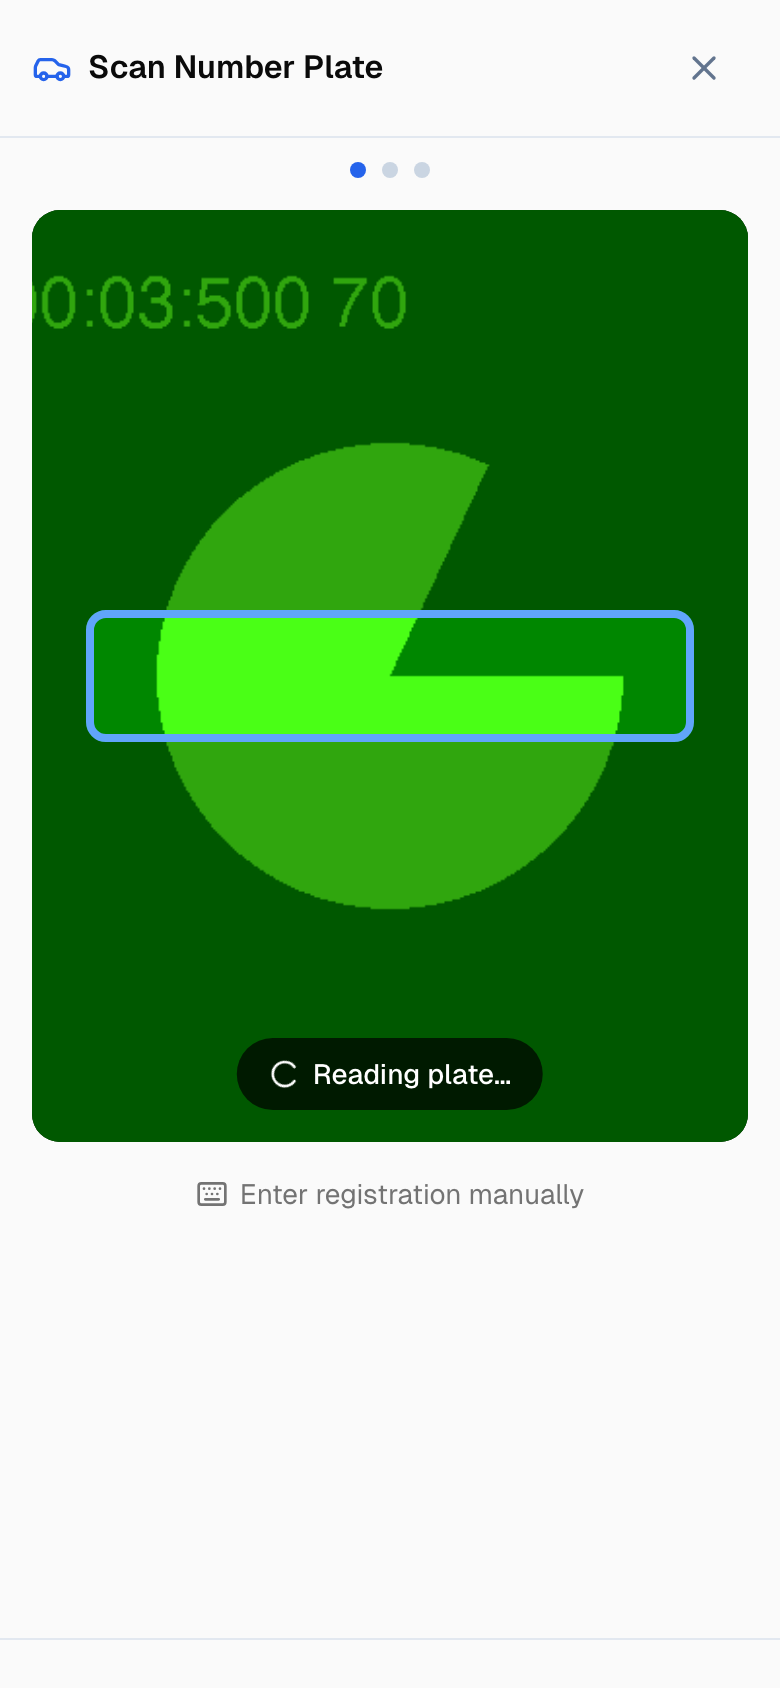 On the web app the same flow is called Scan Number Plate. Take a photo instead and Enter registration manually both drop you to a plain Take Photo capture of the plate, with Back to live scan to return. Checking a car in from the desktop skips the camera altogether and asks for the registration as text.
Work a job from the phone
On the web app on a phone, a job reads top to bottom in the order you work it: the status and Next step, the customer (tap Call to ring them), The work (the lines and the totals), Money (what is owed and paid, with Take payment and the deposit), then the vehicle, the recent activity and More (hold, reschedule, cancel). It is the same Next step, Money card and More menu as the desk page.
Open a job from Jobs, Actions or the Home glance row.
- A booked car has Check In Vehicle at the bottom.
- Awaiting customer approval: the card shows What we found and Total to approve (inc. VAT). Tap Call {customer}, then record what they said: Customer approved (with several items it reads Record phone decision… and asks per item) or Customer declined. Sending the approval link, and withdrawing a request to correct it, are done at the desk on the web. The technician's clock is paused while a job waits; approving or waiving resumes it.
- Additional work found by the technician sits in its own card. Tap it to answer What did the customer say? with Approved or Declined per item; declined items come off the job. Hand parts to technician puts the work on the technician's plan (the same button is on a Parts arrived row in Actions).
- Parts: Check stock, then Order missing (N) for what needs ordering. A purchase order saved for later shows Call and Email order; press Phoned in or Sent once it has gone. Each part line has Mark arrived (books that one part in -- who and when are kept), Chase for a part on order, and Not needed (Needed after all undoes it). Ordering a single line, Wrong part and Return are on the web Parts panel. Part problems reported by the technician offer Raise supplier return or Clear (false alarm).
- Awaiting QC: Send back with a reason. A QC reviewer chooses QC failed -- the work needs fixing (recorded as a fail; the technician sees the reason) or Not finished -- it came to QC too early (not a fail). The QC pass itself is done on the web job page. See Quality Check.
- Call customer is on every open job. The Messages card on the job shows each message MechIQ prepared that has not gone (Draft — not sent -- tap it to check and send it), what was sent with its status (Sent, Delivered, Read, or Not sent and why), and three buttons: Progress update, Write a message and, after collection, Feedback request.
- Every one opens the same Message customer sheet as the desk: it shows who it goes to and by which channel (Text (SMS) or Email). A channel that can't reach the customer -- no email, a landline, or texts switched off by MechIQ -- says why and can't be picked. Edit the words, then Send text / Send email, or Save draft to keep it on the job. Opening the sheet sends and saves nothing. If the message does not go, the sheet says Not sent and why -- it never says sent. Technicians never get a send button.
Check a car out
On a finished job tap Notify customer — ready -- it opens the ready message MechIQ prepared when the job was finished -- check it and send it, then Check out. It is the same checkout as the desk -- the same steps, rules and words, payment included:
- Invoice -- Check lines shows the invoice lines and runs the labour check once (Charge as logged or Charge the estimate), then Create invoice · €… inc VAT. Write off all charges is there for a comeback. A warranty or insurance claim, where a third party pays part of the bill, is split on the web app -- see Warranty & insurance invoices.
- Payment -- the garage's method list: Card, Cash, Bank transfer, Cheque, Put on account (account customers) and Pay later. Credit the customer holds (a deposit) is ticked and used first. The full amount is the default; Received a different amount? lets you type a part payment (the rest is Pay later) or write the rest off with a reason. The button says what it does: Take €X — Card, Put €X on account, Leave €X to pay later. Put on account and Pay later are not payments: the invoice stays owed.
- Handover -- Send receipt by Email or Text (a tap shows What they'll get; Send email / Send text sends it), Photo vehicle condition to record how the car left, then Hand over keys. With money still owed the keys are the secondary button and ask first, naming the amount.
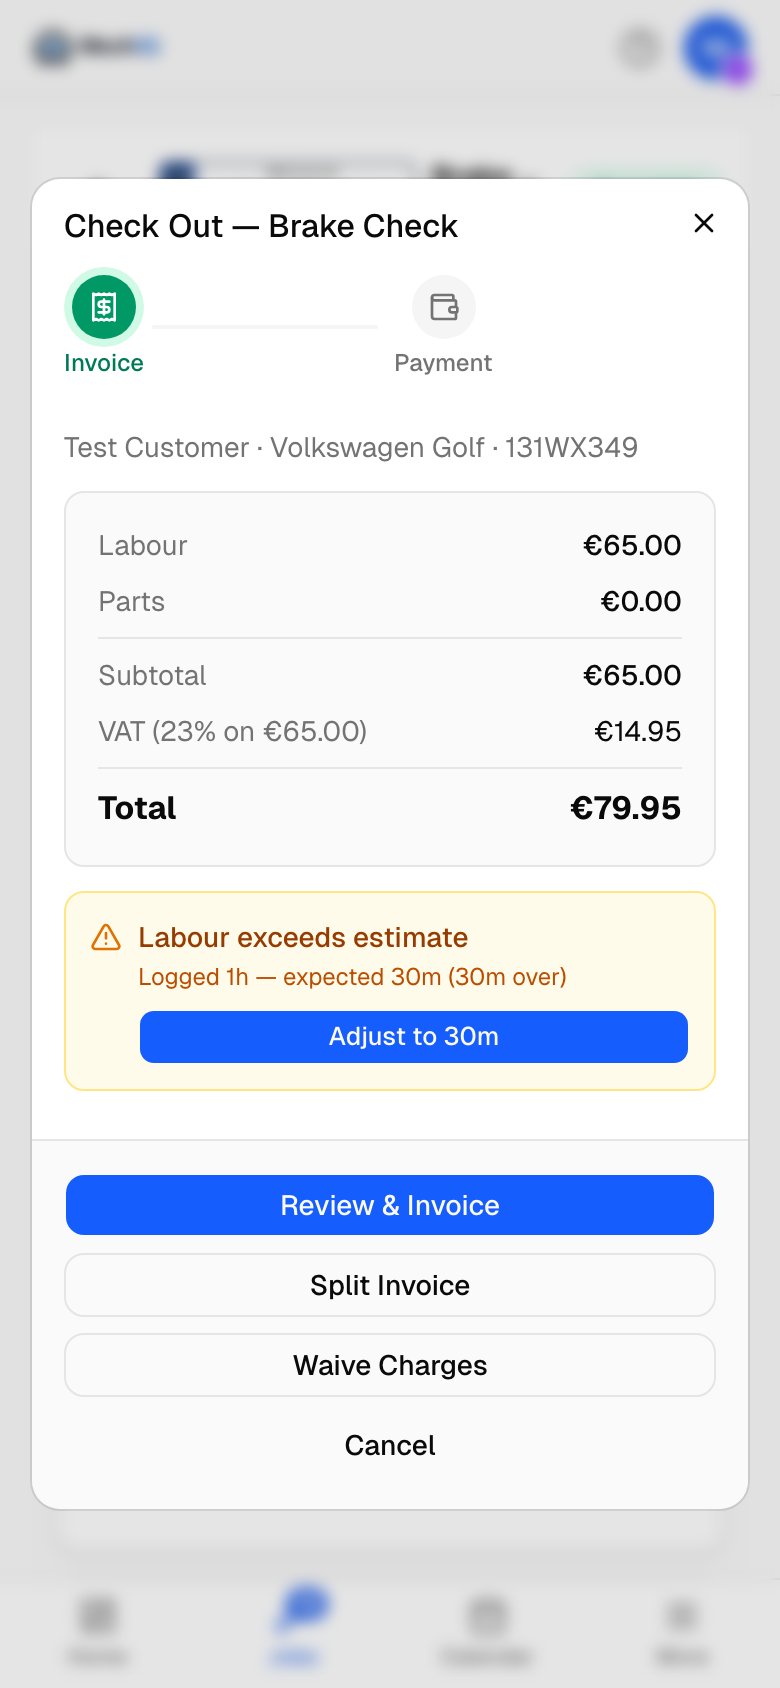 On the web app, Check out opens the same checkout: Invoice, Payment, then Keys.
Actions
The Actions tab is the same queue as the desktop Actions page, with the same rows and words from the server. Urgent items float to Urgent; the rest group by category. A garage admin's tab badge counts only what has escalated to them. On each row: I've got it to claim it, Assign… to hand it to a colleague, Hand back, and Mark handled where the row offers it (work the system cannot see, such as a phone call -- it asks what happened). Every other row closes itself when its work is done; there is no close button. Hand parts to technician does the hand-off from the row; a Check out row offers Send the ready message while it has not gone. The main button opens the screen where the work is done: the job at the right part, a customer's reply at the customer, a leave request at My Profile → Leave (owners), a supplier chase at the job's parts or Inventory. A row that can only be done at the desk says Do this on the web app. See The Actions board.
Quote a job
Quote a job on Home: scan or type the Registration, add Mileage (optional), tap Next, pick from Common jobs or describe the work, say How did the enquiry come in? and tap Get a price. The estimate shows labour, parts, subtotal, VAT and the total. Rough estimates are flagged as such.
Every part shows its part number, or no part number -- confirm with your supplier. Tap a part to change it, or tap Add part. Type a part name or number in the search box and matching parts appear, best first for this car, the same as at the desk. Each shows the part number, brand, stock and price, with a warning if it may not fit. Tap one to use it. The last option, Use as typed -- estimate, prices what you typed. You can also change the quantity, type your own price (it stands), or Remove this part.
When the margin is below your target, tap Raise parts markup to N% to reach target (+€X) to raise it for this quote. Undo -- back to your default markup reverses it. It never lowers a part, and parts you priced yourself are left alone.
Then Book this job or Save quote. Booking books the job from the quote, so it carries the parts, part numbers and prices you quoted. See Quick Price.
No registration (a trailer, a wheel, a counter sale)? Tap No registration under the Registration box and, optionally, say what it is. Book this job then asks for the customer and books it against their own no-reg record; Save quote is for quotes with a reg.
The Jobs list
Jobs groups today's work: Needs attention, Ready for collection, In progress, On hold (with what it waits for) and Booked (today's arrivals). A Home glance tile opens the list filtered to those jobs; tap the filter chip to clear it. On an iPad the list is a rail beside the open job, with the same groups, filter and New job.
Book a job
New job on the Jobs tab (phone and iPad): pick the Customer and Vehicle (both must already be on file -- add new ones on the desktop with New job), the Job type, When? (optional) from the day strip (closed days are marked) and What's the work? (optional), then Create job. For work with no plate, pick No registration under the customer's vehicles and, optionally, say what it is -- the job shows No reg everywhere a registration would.
Scan a supplier invoice
Scan Invoice photographs a supplier invoice. A multi-page invoice is one scan: photograph each page (they line up as numbered thumbnails -- arrows to reorder, X to take one off, Photos to add pages you've already taken), then press Send. MechIQ reads all the pages together, identifies the open order it belongs to and pre-fills a receiving checklist; you correct the counts to what physically arrived and confirm. Lines on the invoice but not on the order can be tapped to receive them too.
If no order matches, the invoice is captured as an off-system purchase: check Invoice details (number, date, total, credit note), set up an unknown supplier with Set up from this invoice or Skip — set up later, check the part numbers, choose Stock or A job under What are these parts for?, and receive. See Supplier orders and receiving.
Inventory
The Inventory tab has Parts lookup, Stock count and Below reorder point, plus Add Supplier and Scan Invoice buttons. Stock count is the same count as the web: press Start stock count, type what is on the shelf (the box starts empty), Scan a barcode to add any other part. Each count saves as you type, so you can leave and come back, or carry on at the desk. Submit count corrects the stock once. See Stock count.
The web app on a phone
Open your normal MechIQ address in the phone's browser and sign in. On an iPad held landscape (or any screen at least 1024 points wide) the browser shows the full desk pages, the same as a computer -- the job page has its Work, Parts & Labour and Money tabs, so Send for approval and Run QC from the Actions list work there. A phone, or an iPad held portrait, gets the phone layout described here. The bottom bar is Home, Jobs, Calendar and More. Home has Check In Vehicle, Check Out Vehicle (badged with cars ready), View Jobs, Calendar, Search and Scan Invoice. More holds Notifications, Time clock (where the garage uses it), My profile, Help and Log out; garage admins also get Reports, Invoices, Team and Settings -- front of house do not.
Check-in uses the phone camera in the browser; without camera permission it offers Take a photo instead and Enter registration manually, both of which photograph the plate rather than asking you to type it. Check-out opens the same two-step checkout as the desktop -- see Invoicing and Checkout.
Tips
- Use the walk-in check-in for drive-ins; you do not have to create the booking first.
- Edit drafted messages before sending. The wording is a starting point.
- For warranty, insurance and fleet jobs set up the split at checkout so each party gets the right invoice.
- Push notifications only reach the native app. See Notifications.